Materials and tools
- Papers: gift-wrap, patterned tissue and napkins, wallpaper fragments, book and magazine pages. There are also special decoupage papers made by Decopatch – good quality but probably the most expensive option. The three main places where I buy napkins are Ikea, Flying Tiger and online sources such as The Napkin Shop on Ebay.
- Modpodge glue, water-based polyurethane varnish (I use Polyvine Decorators Varnish)
- Flat brushes in different sizes
- Scissors, scalpel, utility knife
- Damp cloth, paper towels, sanding block in fine/medium grade

Process:
- Clean your item with a cloth soaked in methylated spirits. The idea is to remove dirt and /or anything greasy that may be on the surface.
- If you're working on something which is a dark colour (black or brown), it is best to give it a coat of white acrylic primer or emulsion first. This will allow you to use very thin, transparent paper such as tissue or paper napkins.
- Wait for the paint to dry – 20 to 30 minutes depending on the atmosphere.
- Prepare the paper - napkins have three layers: you want to separate them and keep just the top one. Use the tip of a scalpel knife if you find it difficult to separate the layers: the way to tell you’ve got the top layer only is that it will be very thin and fragile. If you use tissue, book/magazine or wallpaper you don’t need to worry about that as they are a single layer.

- Decide on your pattern - with paper napkins, random torn pieces work best and are easiest to apply. Other papers can be cut with scissors or a scalpel and glued in larger pieces. If it’s your first time using one of the thicker papers always test it first on a piece of card as some of them stretch and may need to be sprayed with water first to avoid wrinkling. The exception to this is wallpaper as it does not react to moisture and is very stable.
- When using paper napkins, paint a very thin layer of glue on the surface of your item, pat down a piece of paper with your finger and lightly brush a watered-down layer of glue on top. Do the same for the next piece, slightly overlapping with the previous one. Alternate between different areas if the surface starts getting soggy. Avoid touching the pieces of paper you’ve just glued as you may lift them. With thicker papers you only need to apply a layer of glue to the item and then smooth with your fingers to make sure there are no air bubbles underneath. You can place them next to each other or have a slight overlap.
- When the item is completely dry, trim any untidy edges with the scalpel. Then sand down any uneven or slightly wrinkled areas with the sanding block – do this very softly taking care not to tear the paper. Dust the powder off with a kabuki brush or similar.
- Paint a couple of coats of varnish all over, allow to dry and sand with the sanding block if necessar

You can upcycle a huge range of items with decoupage, from a pair of shoes to a whole wall!
If you'd like to learn more, book yourself on a workshop at my South London studio. You can either join a scheduled date, or get together with a group of friends and request a private session at a time to suit you.

Search Posts
Recent Posts
Follow Us
Gabriela Szulman
ARTIST & MAKER
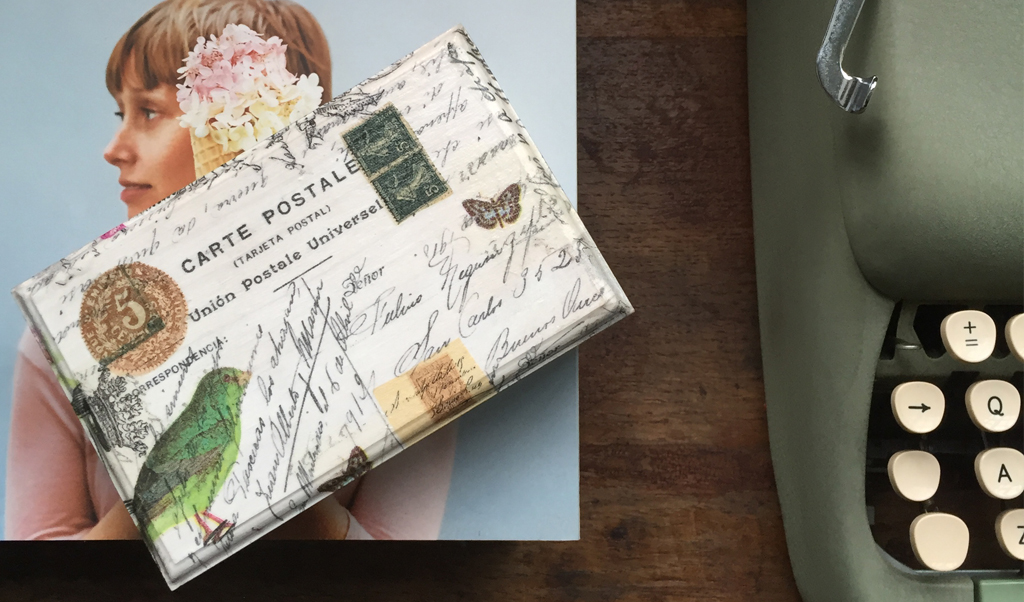
My work is often humorous and whimsical – unless my romantic side takes over and then we enter into a fairy-tale territory of old-fashioned script, pages of books and music scores populated by chivalrous gentlemen, glamorous ladies, butterflies and rabbits. Read more...
LEARN WITH ME
Would you like to explore your creative side? I use the wonderful techniques of decoupage and collage in much of my work, and now I can teach you how to create your very own masterpieces! Read more...